Test-case (Admin): Difference between revisions
No edit summary |
No edit summary |
||
| Line 243: | Line 243: | ||
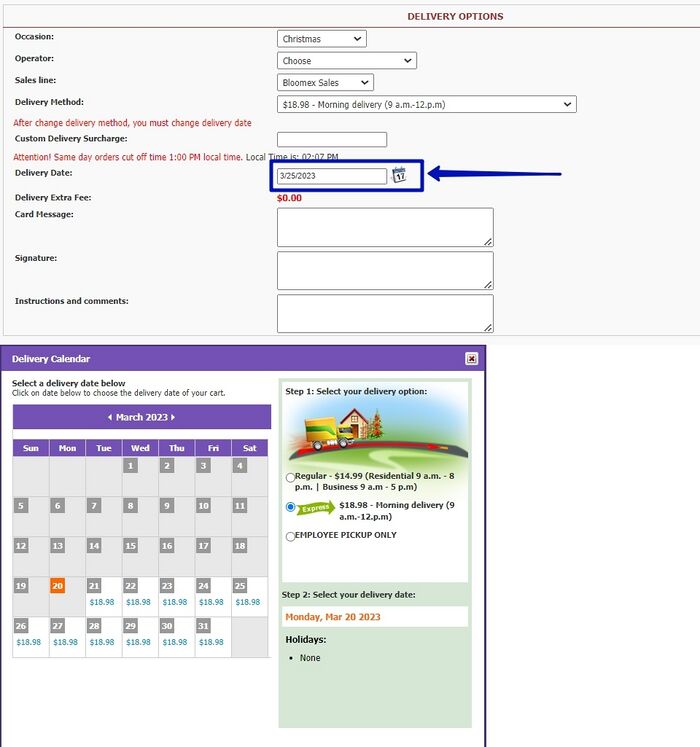
4. The date was successfully selected and confirmed | 4. The date was successfully selected and confirmed | ||
[[Image:4. The date was successfully confirmed. | [[Image:4. The date was successfully confirmed.jpg|700px]] | ||
5. Message: "Save Phone Order Successfully and Payment Approved" | 5. Message: "Save Phone Order Successfully and Payment Approved" | ||
Revision as of 13:50, 19 June 2023
| Number | Name | Steps | Expected result |
|---|---|---|---|
| Homepage | |||
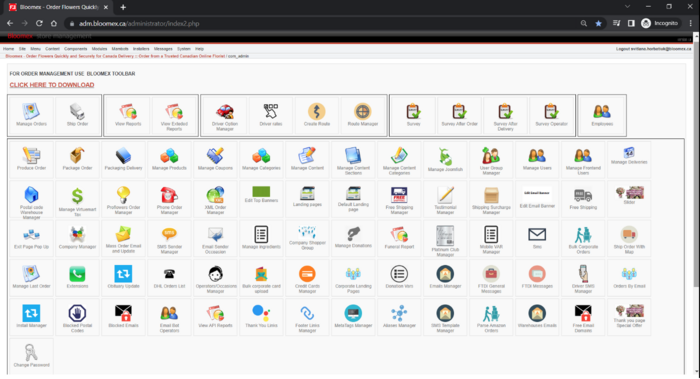
| 1 | Check correct displaying all sections of the Control Panel | Go to the Homepage | All sections of the Control Panel are displayed correctly. |
| Manage orders | |||
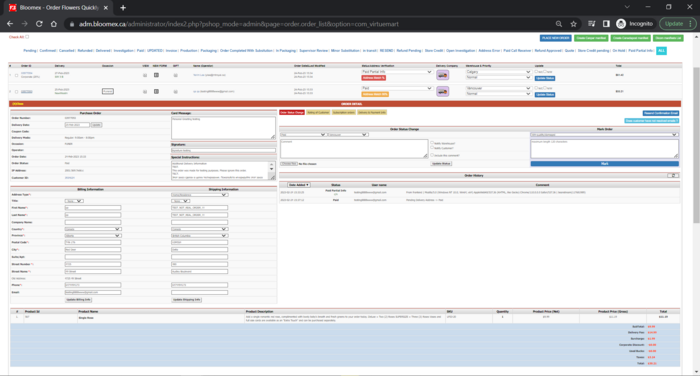
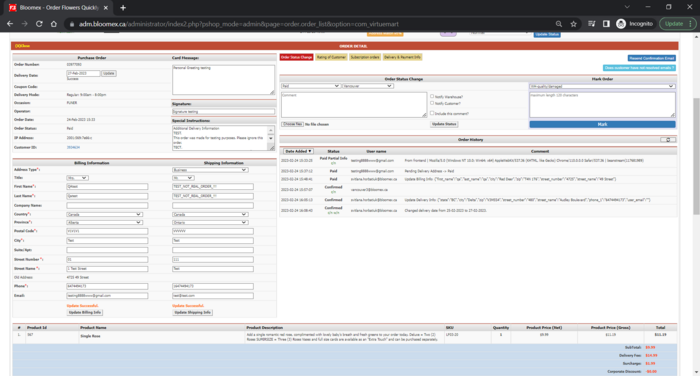
| 2 | Check your placed orders for missing data or incorrect in addresses, delivery date, instructions, signature, card message, occasion (funeral), order calculation is correct | Precondition:
order was placed 1. Go to Manage Orders module 2. Click to view order details |
All necessary information is filled (addresses, delivery date, instructions, signature, card message, occasion, order calculation is correct) |
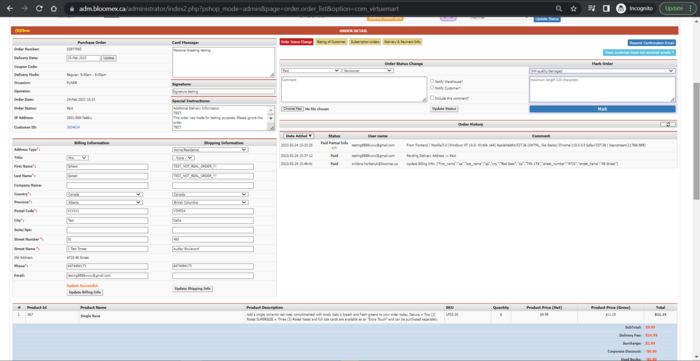
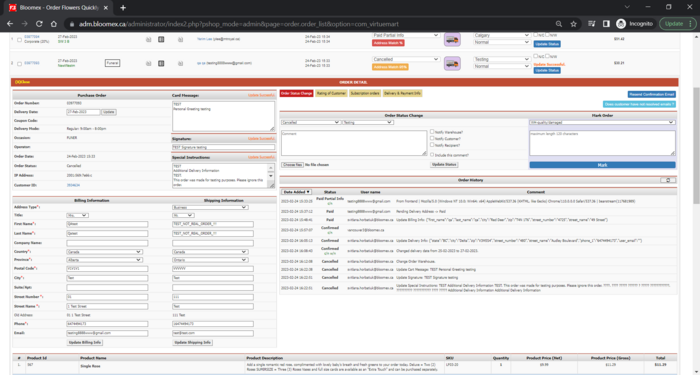
| 3 | Update billing and shipping information | Precondition:
order was placed, order details page is opened in Manage Orders module 1. Update fields in billing 2. Update shipping information |
1. Billing information was updated and a record about updating is shown in history of order (shown after refreshing)
2. Shipping information was updated and a record about updating is shown in history of order (shown after refreshing) |
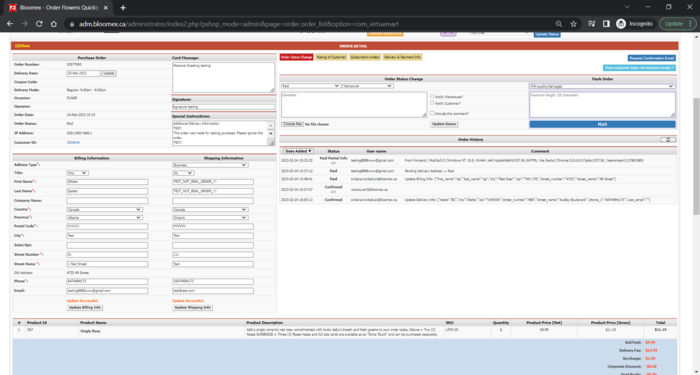
| 4 | Update | Precondition:
order was placed, order details page is opened in Manage Orders module 1. Update delivery date |
Delivery date was updated and a record about updating is shown in history of order (shown after refreshing) |
| 5 | Update card message, signature, special instructions | Precondition:
order was placed, order details page is opened in Manage Orders module 1. Update card message 2. Update signature 3. Update special instructions |
Card message, signature, special instructions were updated and a record about updating is shown in the history of order (shown after refreshing) |
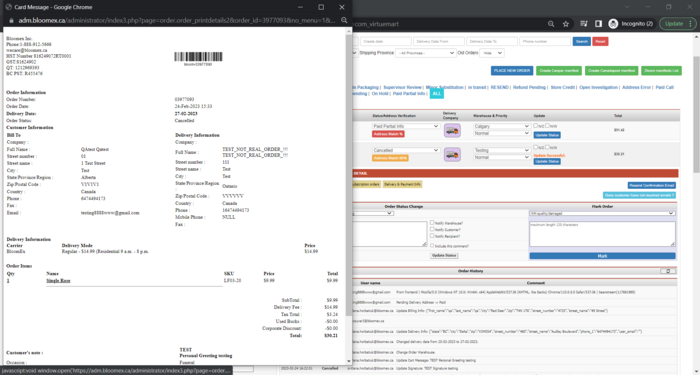
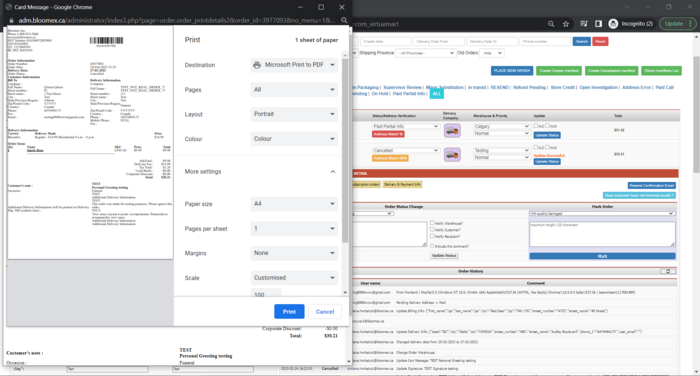
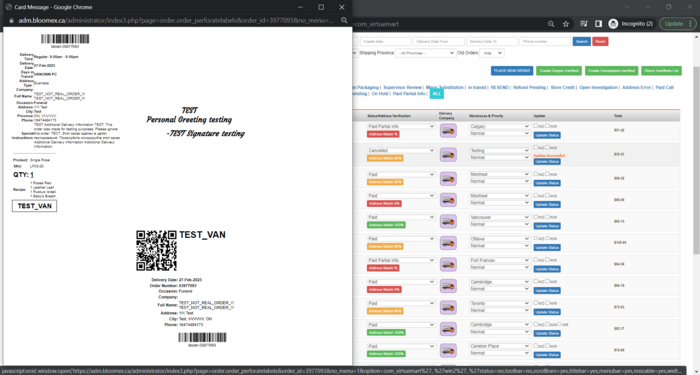
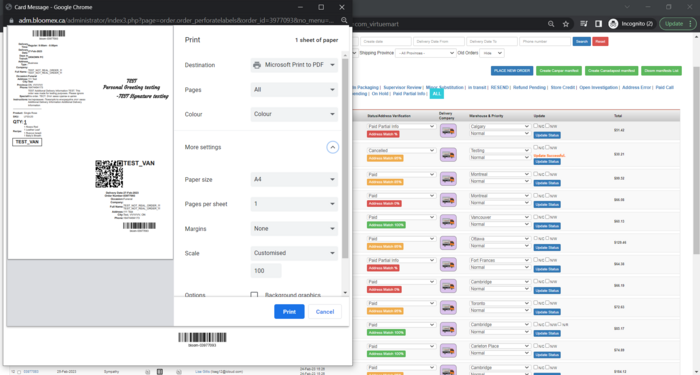
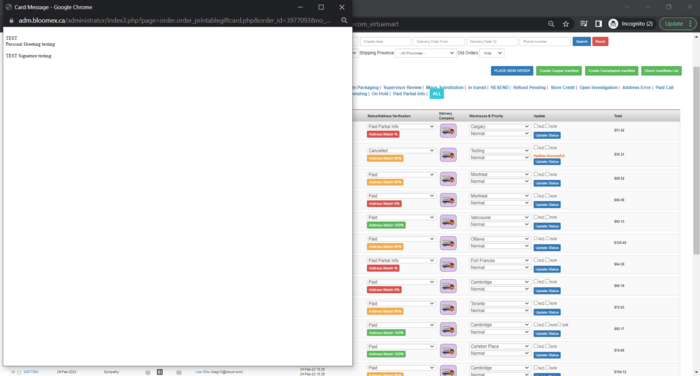
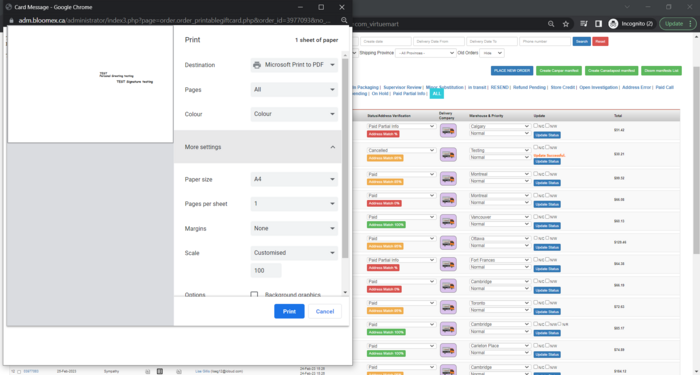
| 6 | Check View/NEWFORM/GIFT prints preview (Ctrl+P) | Precondition:
order was placed, order details page is opened in Manage Orders module 1. Click on the View button 2. View in print preview (Ctrl+P) 3. Click on the NEW FORM button 4. View in print preview (Ctrl+P) 5. Click on the GIFT button 6. View in print preview (Ctrl+P) |
1. "View" window with information about the order is opened
2. "View" in print preview displayed correctly 3. "NEW FORM" window with information about the order and QR-code is opened 4. "NEW FORM" in print preview displayed correctly 5. "GIFT" window with information about the order is opened 6. "Gift" in print preview displayed correctly |
| 7 | Check QR-code scaninng via mobile drive app | ||
| 8 | Changing statuses and information from driver app | ||
| 9 | Order history | ||
| 10 | Update order status is working and update message is saved | ||
| 11 | Sending letter to warehouse (about created order and changing status) | ||
| 12 | "Resend confirmation email" function | ||
| 13 | "Does customer have not resolved emails?" function | ||
| 14 | "Mark Order" function | ||
| 15 | "Rating of Customer" displaying | ||
| 16 | "Subscription orders" displaying | ||
| 17 | Searching order by filters | ||
| 18 | Status filters | ||
| 19 | Check menu | ||
| Phone order manager | |||
| 20 | Place order with creating a new account | Precondition:
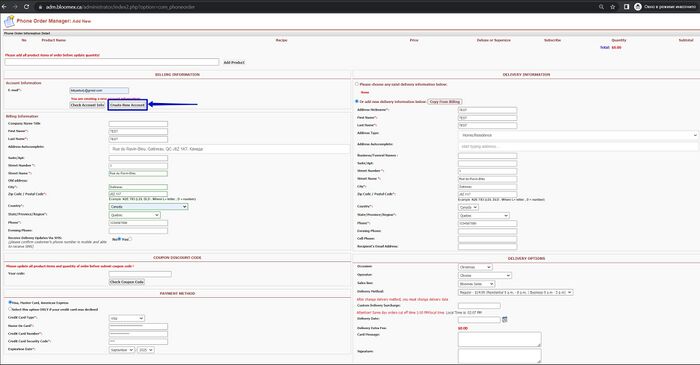
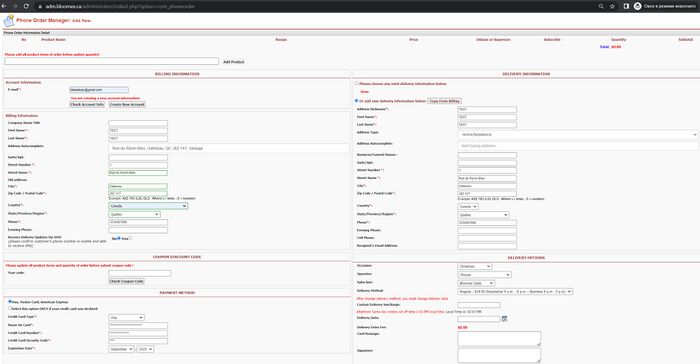
The user hasn't an existing account Steps: 1. Enter the name of the product and click the "Add Product" button 2. Click the "Create New Account" button and Fill in the recommended fields 3. Choose a delivery date 4. Click the "Save Order" button |
1. Product added
2. The information is filled in and displayed correctly 3. The date was successfully selected and confirmed 4. Message: "Save Phone Order Successfully and Payment Approved" |
| 21 | Place order with existing user | Precondition:
The user has an existing account Steps: 1. Enter the name of the product and click the "Add Product" button 2. Enter your email address to verify information in the "E-mail" field and Click the “Check Account Info” button 3. Fill in the recommended fields 4. Choose a delivery date 5. Click the "Save Order" button |
1. Product added
2. Account accepted 3. The information is filled in and displayed correctly 4. The date was successfully selected and confirmed 5. Message: "Save Phone Order Successfully and Payment Approved"
|
| 22 | |||
| 23 | |||
| 24 | |||
| 25 | |||
| 26 | |||
| 27 | |||
| 28 | |||
| 29 | |||
| 30 | |||
| 31 | |||
| 32 | |||
| 33 | |||
| 34 | |||
| 35 | |||
| 36 | |||
| 37 | |||
| 38 | |||
| 39 | |||
| 40 | |||
| 41 | |||
| 42 | |||
| 43 | |||
| 44 | |||
| 45 | |||
| 46 | |||
| 47 | |||
| 48 | |||
| 49 | |||
| 50 | |||
| 51 | |||
| 52 | |||
| 53 | |||
| 54 | |||
| 55 | |||
| 56 | |||
| 57 | |||
| 58 | |||
| 59 | |||
| 60 | |||
| 61 | |||
| 62 | |||
| 63 | |||
| 64 | |||
| 65 | |||
| 66 | |||
| 67 | |||
| 68 | |||
| 69 | |||
| 70 | |||
| 71 | |||
| 72 | |||
| 73 | |||
| 74 | |||
| 75 | |||
| 75 | |||
| 77 | |||
| 78 | |||
| 79 | |||
| 80 | |||
| 81 | |||
| 82 | |||
| 83 | |||
| 84 | |||
| 85 | |||
| 86 | |||
| 87 | |||
| 88 | |||
| 89 | |||
| 90 | |||
| 91 | |||
| 92 | |||
| 93 | |||
| 94 | |||
| 95 | |||
| 96 | |||
| 97 | |||
| 98 | |||
| 99 | |||
| 100 | |||
| 101 | |||
| 102 |
